Does your first look at the WordPress dashboard make you feel overwhelmed? You’re not alone. For most beginners, these essential WordPress settings can look like mission control.
Here’s the good news: you don’t need to be a tech wizard to get them right.
Every time BahaiWebsites sets up a new WordPress theme, we go through the steps below. And, we do some of this for you. Reviewing this list helps you know what was changed, and how to do it.
Going through this list will be a good introduction. You should make these changes now. You can save this page and refer to it later.
Remember:
- Save changes after adjusting each section
- Test your site after major changes
- If you use a laptop, look at it on mobile, and vice versa
- Keep your login information secure
- Update WordPress regularly
Think of WordPress settings like the dash of your car – you don’t need to understand every button. You need to know the basics to avoid future problems.
You just need to know which ones keep you on the road and protect you. You can start with the essentials and gradually add to your list.
In the next few minutes, you’ll learn exactly which settings matter and how to confidently adjust them.
Over the next few months, you can follow our tutorials to add to your knowledge.
The best part? You can adjust the WordPress settings for someone else. In fact, if you really like doing this, please let us know. We have job opportunities.
There is no coding required, and no tech degree needed – just simple, straightforward tweaks that will protect your blogging journey.
Our Promise: By the end of this guide, you’ll know:
- Exactly which settings matter (and which ones you can ignore)
- How to protect your blog from common problems
- Simple settings that make your blog appear much more professional
- Time-saving tricks that we wished we’d known sooner
Let’s dive into the essential settings.
1. General Settings: Your Blog’s Foundation
Settings > General > Site Title and Tagline
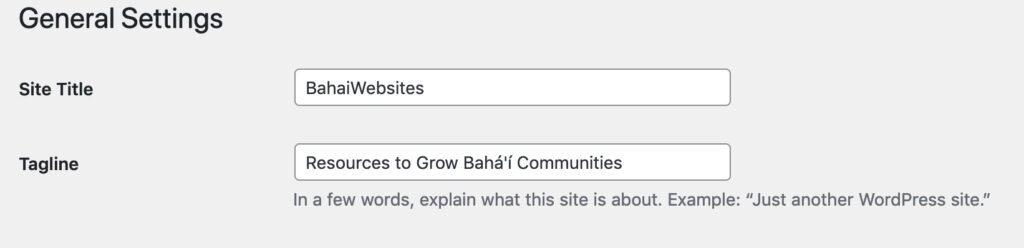
Your General Settings are like your blog’s business card – they tell search engines and visitors exactly who you are. Let’s get these basics right.
Relax, we have blocked the search engines. You can invite them in later, whenever you want, after you are comfortable with your settings.
Your site title is the people-friendly version of your domain name, and appears in search results and browser tabs. Choose something memorable that reflects your blog’s purpose.
Your tagline is your elevator pitch – make it clear and compelling. It should say a lot in a few words about who you are, or why you built a website.
Your site title doesn’t have to match your domain name exactly. Focus on what’s memorable and meaningful to your readers. You can come back to this later, if you don’t know right now.
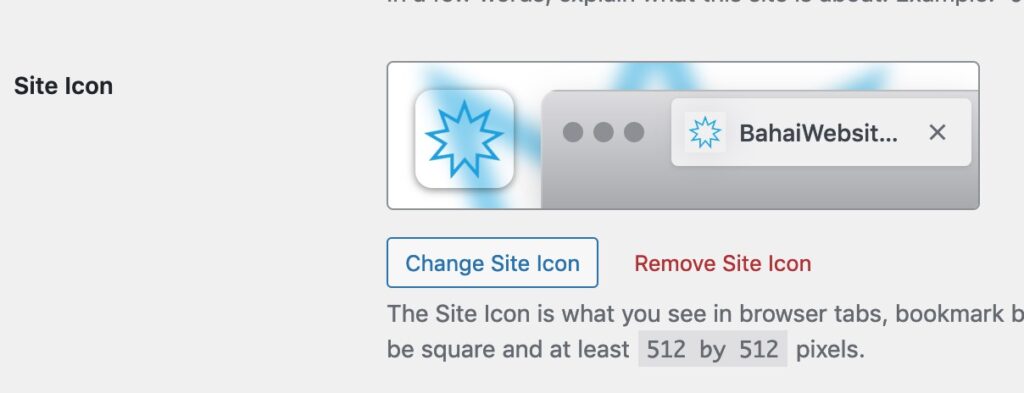
Below this you will see a setting for Site Icon. This is important, but we want to get you started. We will cover that later.
WordPress Roles
The Roles are: Subscriber, Contributor, Author, Editor, and Administrator. Subscribers and Contributors really can’t do anything.
To keep it simple, you your role is author on your new website. As you learn more, you can advance to Editor and Administrator.

Many developers create their website in Administrator, and then create an Author or Editor Role for themselves. They log out of the Admin and log into the other Role for writing their blog Posts.
Their Author dashboard is simpler and there is less risk of them changing a major setting by mistake.
1.1 Language Settings: Make Your Blog Accessible
Keep your language settings simple. Unless you’re writing in multiple languages, set both your site language and admin language to match your primary writing language.
This ensures everything from your dashboard to your published content displays correctly.
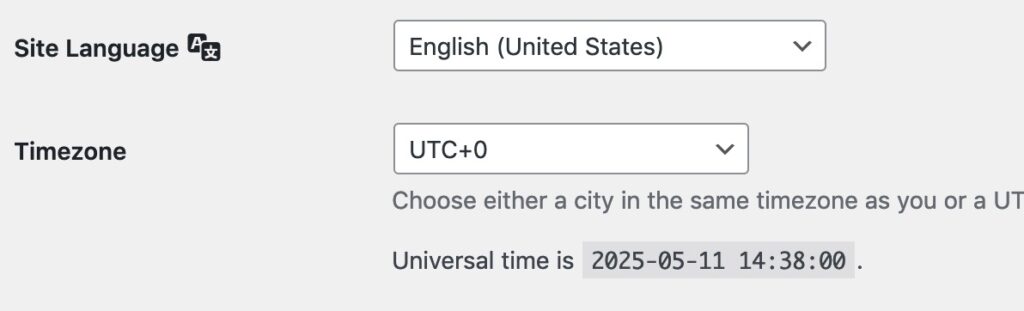
Do NOT use English (United States) unless you are currently living in one of the fifty states.
Setting your language is the most common error for beginners. Avoid setting the country unless you are excluding visitors from other countries.
English (United States) is different from English (New Zealand) or English (UK). Use general English unless you are excluding countries.
On the other hand, if your website is written specifically for Spanish speakers living in the USA, then you should use this Español (Estados Unidos) or Spanish (United States) form.”
This is important. Humans may ignore the mistake but translation software may generate serious errors. AI won’t make this go away.
1.2 Time Zone Settings: Know Where You Are
Set this to your local time zone – you can choose a city or a zone – it prevents confusion when scheduling content and helps you respond to comments promptly. (We discourage comments, but more on that later.)
Save changes. Always click “Save Changes” or “Update” (usually at the bottom of each Setting page) after you have changed a setting. Get in the habit of clicking the Save button. If you don’t, those settings will have to be done again later.
2. Writing Settings: How You Create Your Content
Writing settings might seem basic, they can change your content after after you click save.
There are different Post types. Take a look if you will be posting videos, or other special types. A few quick adjustments here will save you hours of frustration later.
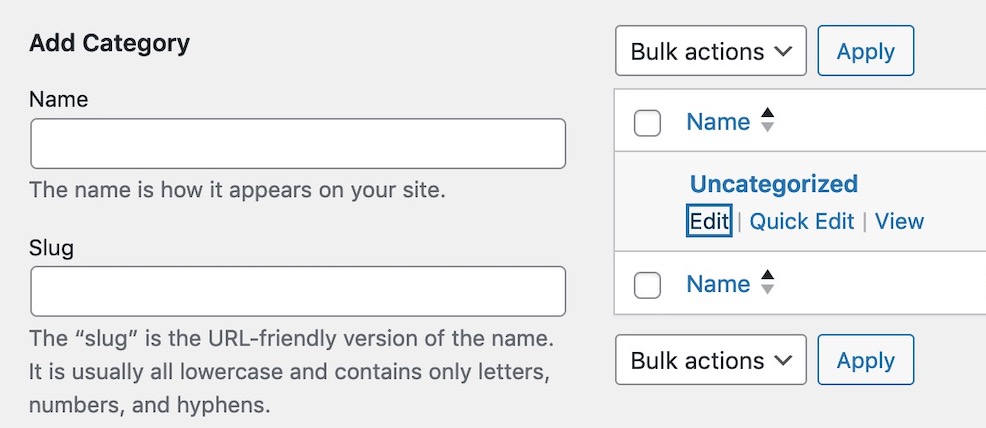
Default Post Category
“Uncategorized” looks unorganized and unprofessional. Every post needs a category, so let’s change that now. You should edit “Uncategorized.”
Then, you can add Categories, either from the Posts Category page, or directly from the sidebar while writing your new Post.
Here’s how you do it.

Posts > Categories
You can edit “Uncategorized”, which is the primary category for your website (like “Blog” or “Themes”) and set it as your default. Now every post automatically has a Category.
You can leave the “Slug” empty. This is the machine-friendly form of the Category name. It will automatically be entered when you click “Save.”
You can set or select the Category from each Post. You can add new Categories, either from the Posts menu or from within the Sidebar in the Post, itself. Use only one Category per Post. Open the sidebar when writing your Post.
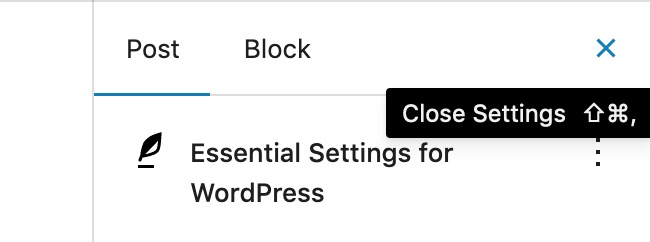
Next, go to the bottom of this sidebar, and choose only one Category.

Your Post draft is automatically saved by WordPress. (More on writing Posts and Sidebar Settings later.) You will need to close this sidebar to find the Publish button.
Save changes.
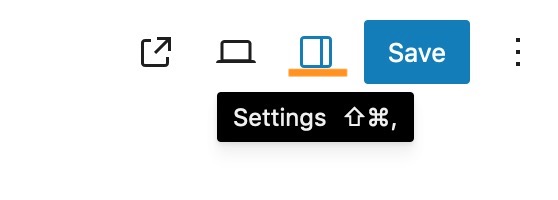
Settings > Writing
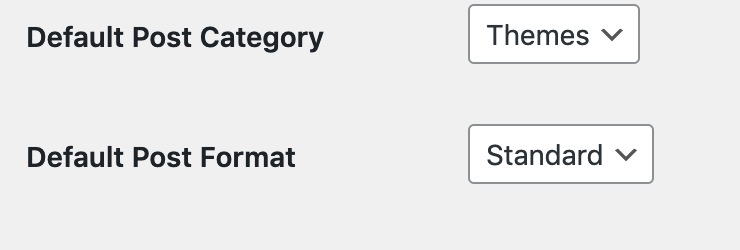
Default Post Format
Keep this set to “Standard” unless you use a theme that supports other formats. Most blogs work best with the standard format, and it’s one less thing to think about when publishing.
Save changes.
3. Reading Settings: How People See Your Content
Settings > Reading
These settings determine how visitors experience your blog. Making smart choices here can keep readers engaged and coming back for more.
Homepage Display
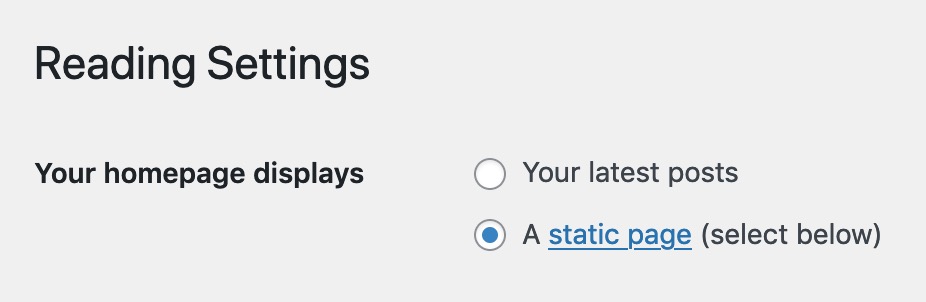
You have two main options: show your latest posts or set up a static homepage.
If you’re just starting out, showing latest posts works perfectly.
As your blog grows, you might want to switch to a static homepage that showcases your best content. WordPress started with a blog and later added the pages. You can, too.
Blog Posts Display
Choose how many posts appear on your main blog page.
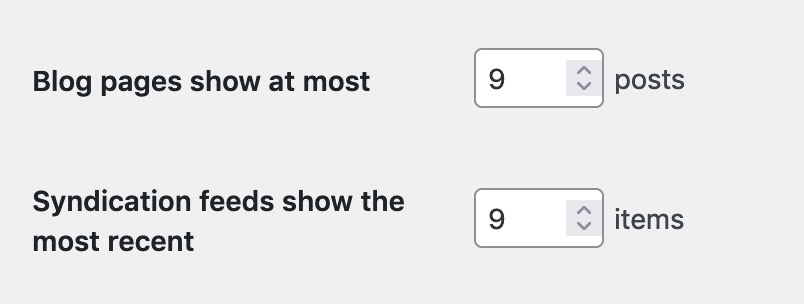
The default is 10. However, most galleries and columns show three across. This makes the sweet spot 9 posts – divisible by 3 and enough to give readers a choice without slowing down your page load time.
RSS
Never set your RSS feed to “Summary” instead of “Full text.” While it might seem smart to make readers visit your site, it may frustrate them and can hurt your subscriber cou
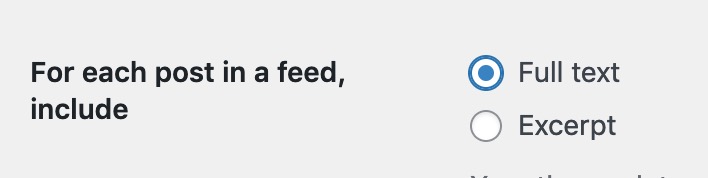
Save changes.
4. Discussion Settings: Manage Your Community
This is where you’ll control comments and interactions on your blog. Getting these settings right helps create a welcoming space while protecting you from spam.
Most blog comments these days are generated by AI or Bots. However, it can be a useful way to connect with your community, and it’s free.
Comment Settings
If you allow people to comment, be aware that many “comments” are AI slop generated by Bots. Protect yourself with these essential settings:
- Require name and email (prevents anonymous spam)
- Hold comments for moderation if they contain links (stops automated spam)
- Turn off comments on posts older than 90 days (reduces old-post spam)
Email Notifications
Set up email notifications for comments that need moderation, but disable notifications for published comments. This keeps you in control without overwhelming your inbox.
Save changes.
5. Media Settings: Keep Your Images Organized
Managing your blog’s images might not seem exciting, but proper media settings prevent your site from slowing to a crawl or eating up your storage space.
Image Sizes
WordPress automatically creates multiple sizes of each image you upload. Let’s set them up smartly:
- Thumbnail: 150 x 150 pixels
- Medium: 300 x 300 pixels
- Large: 1024 x 1024 pixels
File Organization
By default, WordPress organizes uploads by month and year. Keep this on. Storing all your photos in one folder will make your website slower.
Save changes.
6. Permalink Settings: Create Search-Friendly Links
Settings > Permalinks
Your permalink structure affects how easy it is for people (and search engines) to find your content. The right setup makes your links clean, clear, and memorable.
Select either “Post name” or “Category/Post Name” as your permalink structure. This will create URLs that look like:
“yourblog.com/cookie-recipe” or “yourblog.com/chocolate/cookie-recipe”
Do NOT use: “yourblog.com/?p=123”
There was a PhD in San Francisco with a popular interview show about new technology on major media. Her articles were on page three of Google, while the people talking about her show were on page one.
She did all the work and other people merely talked about it, yet they got all the credit. This was because her Permalinks Settings made no sense to the search engines.
Save changes.
7. Privacy Settings: Protect Your Readers
Privacy is a real concern. WordPress has provided a Privacy Page Template that you can edit. Use it.
Privacy isn’t just about following rules – it’s about building trust with your readers. These settings help you stay compliant while being transparent.
Privacy Policy Page
WordPress creates a basic privacy policy page automatically. Take a few minutes to customize it with:
- How you collect and use email addresses
- What cookies your site uses
- How people can contact you
You can simply remove the “Suggested Text:” and publish your page. We have done this when installing your Theme. Review and make any changes.
You can also add a simple cookie notice that pops up when people first visit your site. Most themes include this feature – just activate it in your privacy settings.
Save changes.
8. User Settings: Secure Your Account
WordPress powers almost half of the internet. This popularity also makes it a popular target. Your user settings are your blog’s first line of defense against hackers. Let’s make them strong but manageable.
Display Name
Your Administrator username should be treated like a password. It can contain numbers, lowercase letters, and UPPERCASE letters, but not other characters.
If BahaiWebsites has set up your website, a strong username will be used. Usernames cannot be changed.
Users > All Users > [username] or
Users > Profile
Choose a display name that’s different from your username. This simple change makes it harder for hackers to guess your login credentials.
Before: username “lisasmith” and display name “lisasmith”
After: username “lisasmith” and display name “Lisa”
Save changes.
10. Email Settings: Stay Connected Without Getting Overwhelmed
Your blog will send various notifications, from comment alerts to update reminders. Let’s set these up to work for you, not against you.
Email Notification Strategy
Choose notifications thoughtfully:
- Comments awaiting moderation: ON (catch spam quickly)
- Published comment: OFF (avoid inbox overload)
- Plugin/theme updates: ON (stay secure)
Consider creating a separate email folder for blog notifications. It keeps your main inbox clear while ensuring you don’t miss anything important. I check mine twice a day – morning and evening – which helps maintain boundaries while staying responsive.
11. Security Settings: Protect Your Hard Work
The final piece of the puzzle is securing your blog. These settings create a strong foundation for your site’s security.
BahaiWebsites’ Essential Security Steps
- Enable automatic updates for minor WordPress versions
- Restrict file editing through the dashboard
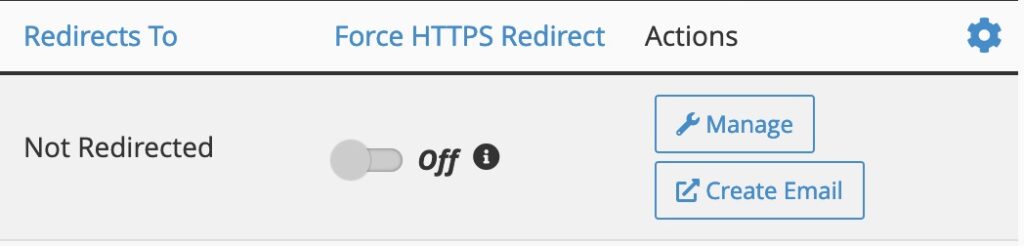
- Turn on SSL if your host provides it
Next Steps and Quick Reference
Now that you’ve configured these essential WordPress settings, your blog has a solid foundation. Keep this guide handy – you might want to revisit these settings as your blog grows.
Remember:
- Save changes after adjusting each section
- Test your site after major changes
- If you use a laptop, look at it on mobile, and vice versa
- Keep your login information secure
- Update WordPress regularly
Frequently Asked Questions
Q: How often should I review these settings?
A: Do a quick check monthly, focusing on security and discussion settings. Other settings typically only need attention when your blog strategy changes.
Q: What if I make a mistake?
A: Most settings can be easily reversed. If something looks wrong, simply change it back. WordPress keeps a log of recent changes in your dashboard.
Q: Do I need to set everything up right away?
A: Focus on security, permalinks, and discussion settings first. The rest you can adjust as you grow more comfortable with your blog.
Ready to take your blog to the next level?